资源
| Site: | 聚观点-集成开发环境 |
| Course: | 必修1. 互联网创意编程基础 |
| Book: | 资源 |
| Printed by: | Guest user |
| Date: | Monday, 25 May 2026, 11:02 AM |
1. 素材
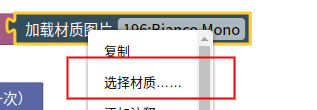
系统自带的材质图片库, 素材库(含2D、3D、音频、纹理、其他等共4万多个)


1.4. 生成音乐
选择乐器,填写乐谱,生成p5.SoundFile对象。
例如,选择“钢琴”,可填写键名如下:
A0
A1
A2
A3
A4
A5
A6
A7
C1
C2
C3
C4
C5
C6
C7
C8
Ds1
Ds2
Ds3
Ds4
Ds5
Ds6
Ds7
Fs1
Fs2
Fs3
Fs4
Fs5
Fs6
Fs7
选择“小提琴”,可填写键名如下:
A3
A4
A5
A6
As3
As4
As5
As6
B3
B4
B5
B6
C4
C5
C6
Cs4
Cs5
Cs6
Cs7
D4
D5
D6
D7
Ds4
Ds5
Ds6
Ds7
E4
E5
E6
E7
F4
F5
F6
F7
Fs4
Fs5
Fs6
Fs7
G3
G4
G5
G6
G7
Gs3
Gs4
Gs5
Gs6
选择“曼陀铃 ”,可填写音符如下:
A3
A4
A5
A6
As3
As4
As5
B3
B4
B5
C4
C5
C6
Cs4
Cs5
Cs6
D4
D5
D6
Ds4
Ds5
Ds6
E4
E5
E6
F4
F5
F6
Fs4
Fs5
Fs6
G3
G4
G5
G6
Gs3
Gs4
Gs5
Gs6
选择“木琴 ”,可填写音符如下:
C3
C4
C5
C6
G3
G4
G5
G6
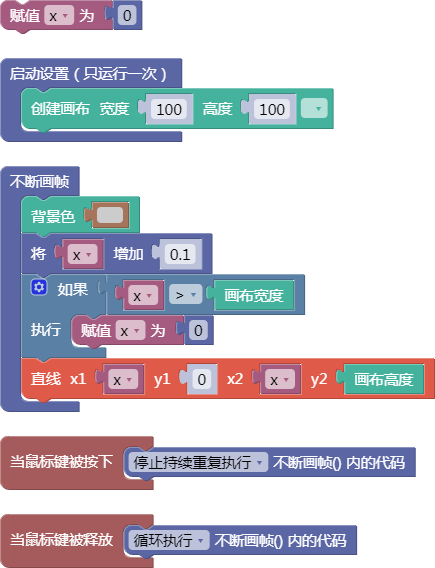
2.1. 显示文字

text()
示例:

let x = 0;
function setup() {
  createCanvas(100, 100);
}
function draw() {
  background(204);
  x = x + 0.1;
  if (x > width) {
    x = 0;
  }
  line(x, 0, x, height);
}
function mousePressed() {
  noLoop();
}
function mouseReleased() {
  loop();
}
舞台区显示的画布内容如下:

2.2. 字体对齐方式
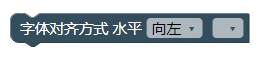
textAlign()
示例:

let x = 0;
function setup() {
  createCanvas(100, 100);
}
function draw() {
  background(204);
  x = x + 0.1;
  if (x > width) {
    x = 0;
  }
  line(x, 0, x, height);
}
function mousePressed() {
  noLoop();
}
function mouseReleased() {
  loop();
}
舞台区显示的画布内容如下:

2.3. 字体大小
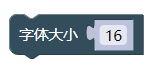
textSize()
示例:

let x = 0;
function setup() {
  createCanvas(100, 100);
}
function draw() {
  background(204);
  x = x + 0.1;
  if (x > width) {
    x = 0;
  }
  line(x, 0, x, height);
}
function mousePressed() {
  noLoop();
}
function mouseReleased() {
  loop();
}
舞台区显示的画布内容如下:
2.4. 字体样式
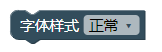
textStyle()
示例:

let x = 0;
function setup() {
  createCanvas(100, 100);
}
function draw() {
  background(204);
  x = x + 0.1;
  if (x > width) {
    x = 0;
  }
  line(x, 0, x, height);
}
function mousePressed() {
  noLoop();
}
function mouseReleased() {
  loop();
}
舞台区显示的画布内容如下:

2.5. 行间距

textLeading()
示例:

let x = 0;
function setup() {
  createCanvas(100, 100);
}
function draw() {
  background(204);
  x = x + 0.1;
  if (x > width) {
    x = 0;
  }
  line(x, 0, x, height);
}
function mousePressed() {
  noLoop();
}
function mouseReleased() {
  loop();
}
舞台区显示的画布内容如下:

2.6. 加载字体
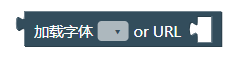
loadFont()
示例:

let x = 0;
function setup() {
  createCanvas(100, 100);
}
function draw() {
  background(204);
  x = x + 0.1;
  if (x > width) {
    x = 0;
  }
  line(x, 0, x, height);
}
function mousePressed() {
  noLoop();
}
function mouseReleased() {
  loop();
}
舞台区显示的画布内容如下:

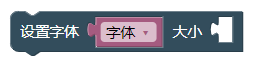
2.7. 设置CSS

textFont()
示例:

let x = 0;
function setup() {
  createCanvas(100, 100);
}
function draw() {
  background(204);
  x = x + 0.1;
  if (x > width) {
    x = 0;
  }
  line(x, 0, x, height);
}
function mousePressed() {
  noLoop();
}
function mouseReleased() {
  loop();
}
舞台区显示的画布内容如下:

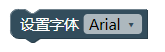
2.8. 设置大小
textFont()
示例:

let x = 0;
function setup() {
  createCanvas(100, 100);
}
function draw() {
  background(204);
  x = x + 0.1;
  if (x > width) {
    x = 0;
  }
  line(x, 0, x, height);
}
function mousePressed() {
  noLoop();
}
function mouseReleased() {
  loop();
}
舞台区显示的画布内容如下:

2.9. 设置样式
textFont()
示例:
let x = 0;
function setup() {
  createCanvas(100, 100);
}
function draw() {
  background(204);
  x = x + 0.1;
  if (x > width) {
    x = 0;
  }
  line(x, 0, x, height);
}
function mousePressed() {
  noLoop();
}
function mouseReleased() {
  loop();
}
舞台区显示的画布内容如下:

2.10. 文本点阵
函数有多个参数,包括字体类型、文本内容、x坐标、y坐标、大小、选项。函数的返回的数值类型则是一个数组,数组的每个元素是一个对象,对象包含两个属性,分别为x和y。
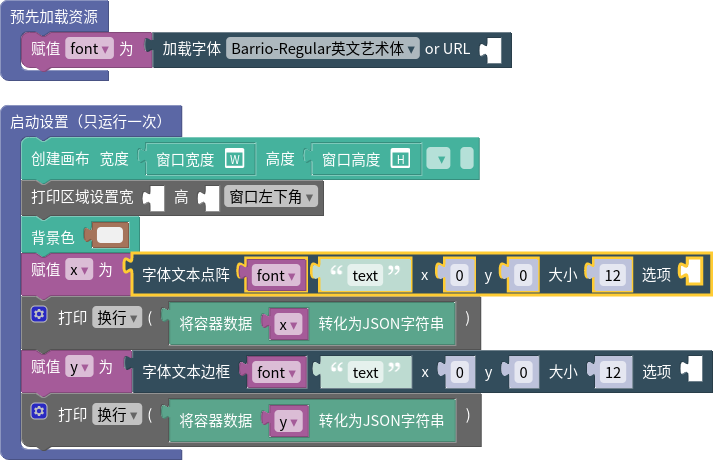
2.11. 文本边框
函数的返回的数值类型是一个对象,对象包含四个属性,分别为x、y、w、h,也就是边框的左上角所在位置的x和y坐标,以及边框的宽度w和高度h。
2.12. 文字宽度

textWidth()
示例:

let x = 0;
function setup() {
  createCanvas(100, 100);
}
function draw() {
  background(204);
  x = x + 0.1;
  if (x > width) {
    x = 0;
  }
  line(x, 0, x, height);
}
function mousePressed() {
  noLoop();
}
function mouseReleased() {
  loop();
}
舞台区显示的画布内容如下:

2.13. 字体高度

textAscent()
示例:

let x = 0;
function setup() {
  createCanvas(100, 100);
}
function draw() {
  background(204);
  x = x + 0.1;
  if (x > width) {
    x = 0;
  }
  line(x, 0, x, height);
}
function mousePressed() {
  noLoop();
}
function mouseReleased() {
  loop();
}
舞台区显示的画布内容如下:

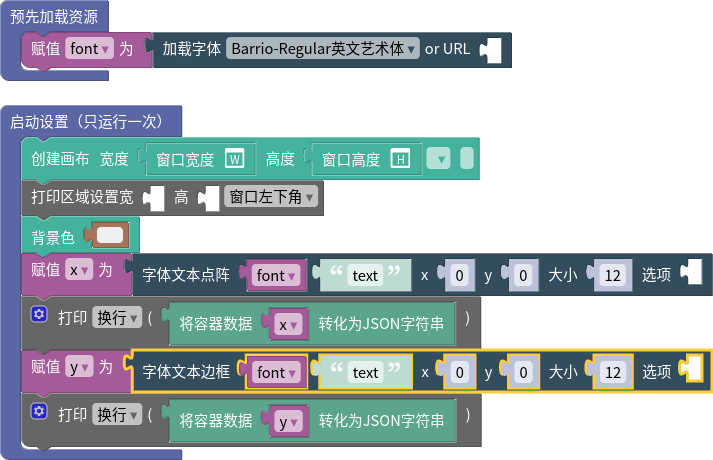
2.14. 字体下端线高度
textDescent()
示例:

let x = 0;
function setup() {
  createCanvas(100, 100);
}
function draw() {
  background(204);
  x = x + 0.1;
  if (x > width) {
    x = 0;
  }
  line(x, 0, x, height);
}
function mousePressed() {
  noLoop();
}
function mouseReleased() {
  loop();
}
舞台区显示的画布内容如下:

2.15. 定制字体
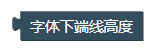
Syllabus
Playground Agency
In the first project, a splash page for an upcoming digital agency, we learn how to add web typography to a site and how to play around with variable type using CSS animations.
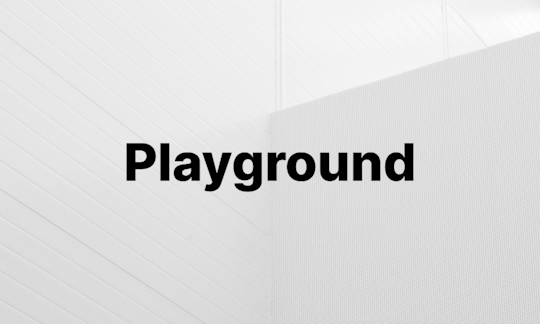
Caroline Wade
For this portfolio site project, we extend upon variable type with the Bandeins Strange typeface which has two levels of variability. We also add in hover states and a script to change the type on scroll.
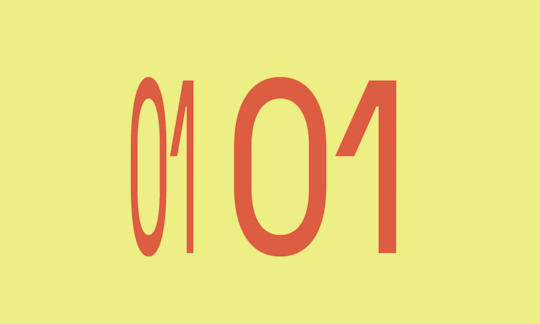
01 01
For most kinetic type animations, we need to draw in a canvas to be able to manipulate our type. In this fun project, we copy and paste our text so we can play around with its width.
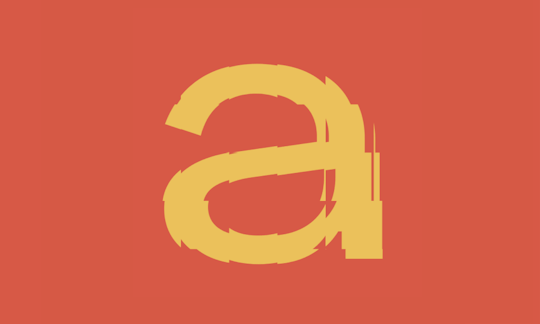
aaaaaaaaa
In this project, we're going to take some text and play with its distortion within a grid to splice it up.

Good Morning
For this project, we take kinetic type to its extremes by making the grid very small and by letting our users change the text and the speed of animation.
Out of Office
Sometimes, we want to be able to let our users have control over the animation. We add timeline scrubbing in this project along with an animation loop.
Brutalust
In our brutalism fansite, Brutalust, we add in a typer-style effect to our HTML-content using vanilla Javascript's setInterval looping to change and randomize text.
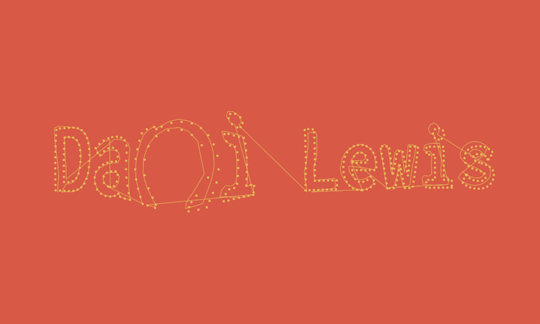
Dani Lewis
In our final project, we take drawing to its extreme by sampling a font and redrawing it with circles and lines, and then using vectors to add distortion based on our mouse position.
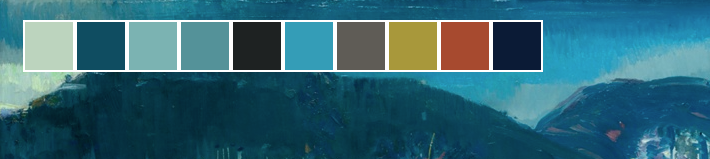
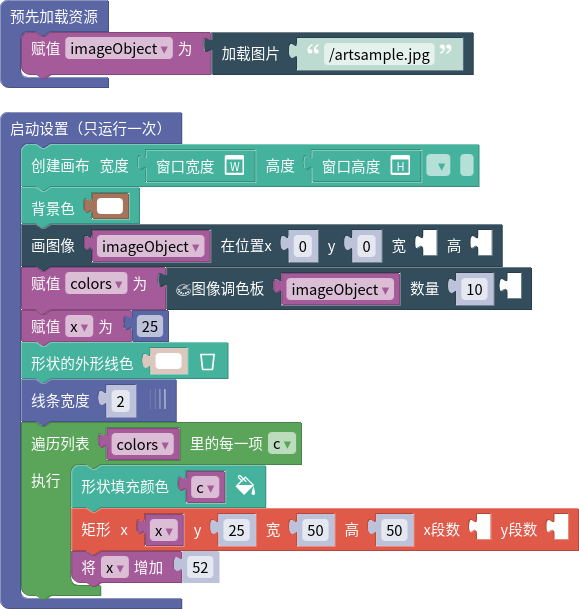
3.1. 图像绘制模式
imageMode()
示例:

let x = 0;
function setup() {
  createCanvas(100, 100);
}
function draw() {
  background(204);
  x = x + 0.1;
  if (x > width) {
    x = 0;
  }
  line(x, 0, x, height);
}
function mousePressed() {
  noLoop();
}
function mouseReleased() {
  loop();
}
舞台区显示的画布内容如下:


3.3. 禁用图像染色
noTint()
示例:

let x = 0;
function setup() {
  createCanvas(100, 100);
}
function draw() {
  background(204);
  x = x + 0.1;
  if (x > width) {
    x = 0;
  }
  line(x, 0, x, height);
}
function mousePressed() {
  noLoop();
}
function mouseReleased() {
  loop();
}
舞台区显示的画布内容如下:

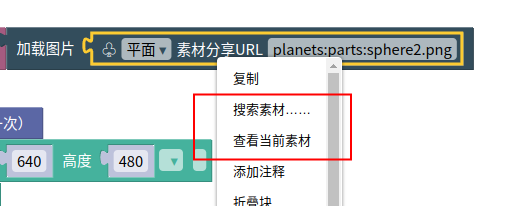
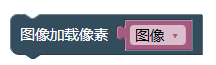
3.4. 加载图片URL
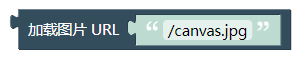
loadImage()
示例:

let x = 0;
function setup() {
  createCanvas(100, 100);
}
function draw() {
  background(204);
  x = x + 0.1;
  if (x > width) {
    x = 0;
  }
  line(x, 0, x, height);
}
function mousePressed() {
  noLoop();
}
function mouseReleased() {
  loop();
}
舞台区显示的画布内容如下:

3.5. 创建图片宽高
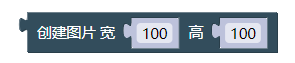
createImage()
示例:

let x = 0;
function setup() {
  createCanvas(100, 100);
}
function draw() {
  background(204);
  x = x + 0.1;
  if (x > width) {
    x = 0;
  }
  line(x, 0, x, height);
}
function mousePressed() {
  noLoop();
}
function mouseReleased() {
  loop();
}
舞台区显示的画布内容如下:


3.9. 图像宽度
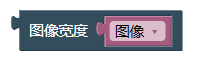
width
示例:

let x = 0;
function setup() {
  createCanvas(100, 100);
}
function draw() {
  background(204);
  x = x + 0.1;
  if (x > width) {
    x = 0;
  }
  line(x, 0, x, height);
}
function mousePressed() {
  noLoop();
}
function mouseReleased() {
  loop();
}
舞台区显示的画布内容如下:

3.10. 图像高度
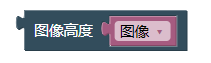
height
示例:

let x = 0;
function setup() {
  createCanvas(100, 100);
}
function draw() {
  background(204);
  x = x + 0.1;
  if (x > width) {
    x = 0;
  }
  line(x, 0, x, height);
}
function mousePressed() {
  noLoop();
}
function mouseReleased() {
  loop();
}
舞台区显示的画布内容如下:

3.11. 图像加载像素
loadPixels()
示例:

let x = 0;
function setup() {
  createCanvas(100, 100);
}
function draw() {
  background(204);
  x = x + 0.1;
  if (x > width) {
    x = 0;
  }
  line(x, 0, x, height);
}
function mousePressed() {
  noLoop();
}
function mouseReleased() {
  loop();
}
舞台区显示的画布内容如下:

3.12. 图像的像素
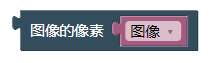
pixels
示例:

let x = 0;
function setup() {
  createCanvas(100, 100);
}
function draw() {
  background(204);
  x = x + 0.1;
  if (x > width) {
    x = 0;
  }
  line(x, 0, x, height);
}
function mousePressed() {
  noLoop();
}
function mouseReleased() {
  loop();
}
舞台区显示的画布内容如下:

3.13. 图像获取像素

get()
示例:

let x = 0;
function setup() {
  createCanvas(100, 100);
}
function draw() {
  background(204);
  x = x + 0.1;
  if (x > width) {
    x = 0;
  }
  line(x, 0, x, height);
}
function mousePressed() {
  noLoop();
}
function mouseReleased() {
  loop();
}
舞台区显示的画布内容如下:

3.14. 图像设置像素

set()
示例:

let x = 0;
function setup() {
  createCanvas(100, 100);
}
function draw() {
  background(204);
  x = x + 0.1;
  if (x > width) {
    x = 0;
  }
  line(x, 0, x, height);
}
function mousePressed() {
  noLoop();
}
function mouseReleased() {
  loop();
}
舞台区显示的画布内容如下:

3.15. 图像更新像素
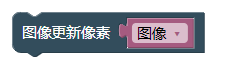
updatePixels()
示例:

let x = 0;
function setup() {
  createCanvas(100, 100);
}
function draw() {
  background(204);
  x = x + 0.1;
  if (x > width) {
    x = 0;
  }
  line(x, 0, x, height);
}
function mousePressed() {
  noLoop();
}
function mouseReleased() {
  loop();
}
舞台区显示的画布内容如下:

3.16. 图像缩放

resize()
示例:

let x = 0;
function setup() {
  createCanvas(100, 100);
}
function draw() {
  background(204);
  x = x + 0.1;
  if (x > width) {
    x = 0;
  }
  line(x, 0, x, height);
}
function mousePressed() {
  noLoop();
}
function mouseReleased() {
  loop();
}
舞台区显示的画布内容如下:


3.18. 图像混合像素

blend()
示例:

let x = 0;
function setup() {
  createCanvas(100, 100);
}
function draw() {
  background(204);
  x = x + 0.1;
  if (x > width) {
    x = 0;
  }
  line(x, 0, x, height);
}
function mousePressed() {
  noLoop();
}
function mouseReleased() {
  loop();
}
舞台区显示的画布内容如下:

3.19. 图像马赛克
mask()
示例:

let x = 0;
function setup() {
  createCanvas(100, 100);
}
function draw() {
  background(204);
  x = x + 0.1;
  if (x > width) {
    x = 0;
  }
  line(x, 0, x, height);
}
function mousePressed() {
  noLoop();
}
function mouseReleased() {
  loop();
}
舞台区显示的画布内容如下:

3.20. 图像过滤

filter()
示例:

let x = 0;
function setup() {
  createCanvas(100, 100);
}
function draw() {
  background(204);
  x = x + 0.1;
  if (x > width) {
    x = 0;
  }
  line(x, 0, x, height);
}
function mousePressed() {
  noLoop();
}
function mouseReleased() {
  loop();
}
舞台区显示的画布内容如下:


3.22. 图像保存

save()
示例:

let x = 0;
function setup() {
  createCanvas(100, 100);
}
function draw() {
  background(204);
  x = x + 0.1;
  if (x > width) {
    x = 0;
  }
  line(x, 0, x, height);
}
function mousePressed() {
  noLoop();
}
function mouseReleased() {
  loop();
}
舞台区显示的画布内容如下:

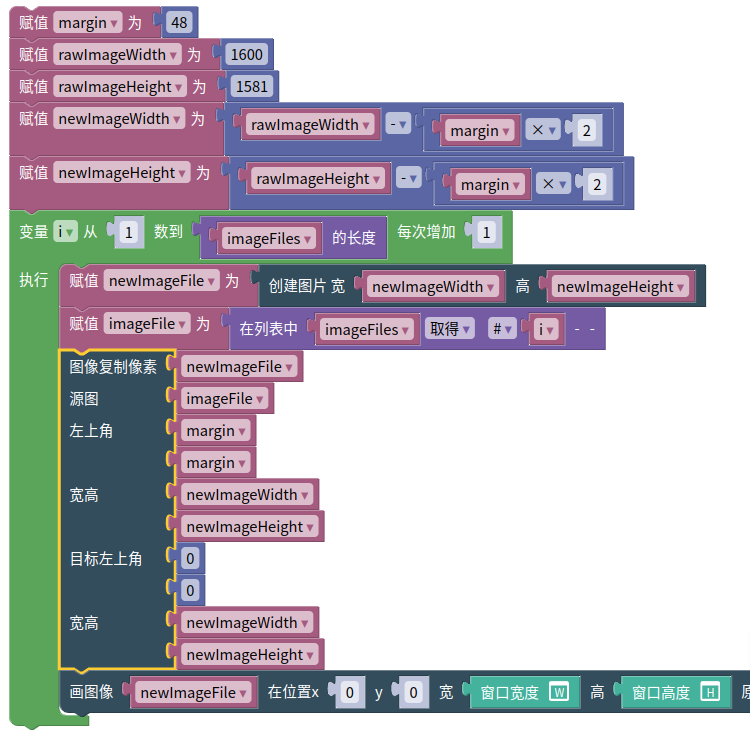
3.23. 打开图像文件

p5.createFileInput(), p5.createImg()
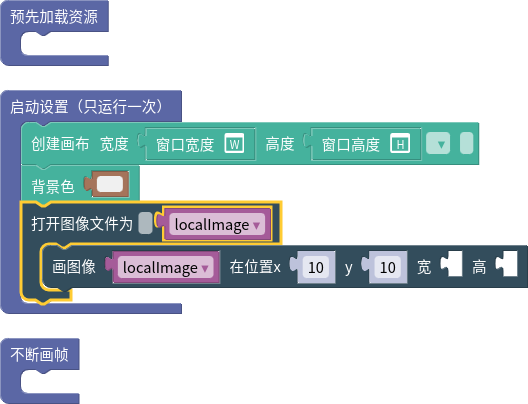

如果勾选了“多个文件”的checkbox,用户可选择多个文件上传,回调代码将执行多次,每次localImage变量指向一个新的p5.Image对象。

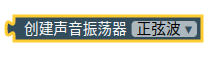
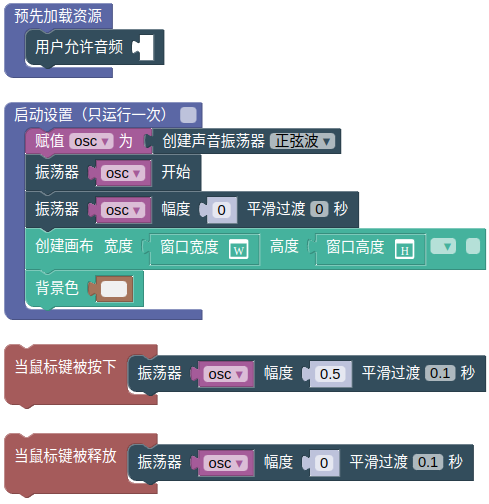
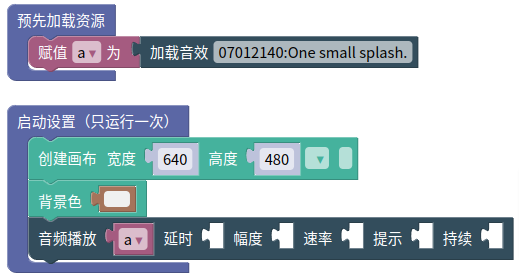
4.2. 加载音频URL
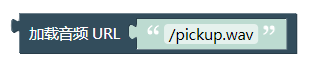
loadSound()
示例:

let x = 0;
function setup() {
  createCanvas(100, 100);
}
function draw() {
  background(204);
  x = x + 0.1;
  if (x > width) {
    x = 0;
  }
  line(x, 0, x, height);
}
function mousePressed() {
  noLoop();
}
function mouseReleased() {
  loop();
}
舞台区显示的画布内容如下:

4.3. 音频播放

play()
示例:

let x = 0;
function setup() {
  createCanvas(100, 100);
}
function draw() {
  background(204);
  x = x + 0.1;
  if (x > width) {
    x = 0;
  }
  line(x, 0, x, height);
}
function mousePressed() {
  noLoop();
}
function mouseReleased() {
  loop();
}
舞台区显示的画布内容如下:
